Start a Test and Onboard Your Device
Before you start, complete the steps in Before You Begin.
Sign In to the Test Suite
Sign in to the Test Suite with your Samsung account.
The Test Suite shows the device list. It is your central place to manage your devices and tests, and it includes:
- Connected Devices: All devices linked to your Samsung account.
- Shared Devices: Devices from Locations and Organizations shared with your Samsung account.
- Previously Connected Devices: Devices that are no longer connected but have test results, so your full test history stays available.
- Device Test History: The test status and history of each device.
Go to my.smartthings.com/advanced/devices and check that the device is visible in your Samsung account. If it isn't, make sure that your Samsung account is a member of the shared Location or Organization. For more help, email support.
Start a Test
How you start a test depends on whether the device is already listed in the Test Suite:
| Situation | How to start a test |
|---|---|
| The device is listed in the device list | Select New test next to the device to open the test session creator, then choose the test type. If you choose a Full Integration Test, first remove the device from SmartThings. The test onboards it again. |
| The device is not yet associated with your Samsung account | Select Start Full Integration Test on the Test Suite landing page. The test starts by onboarding the device. |
Operational Tests are useful during development, but they don't qualify your device for self-test certification. See How the Test Suite Works.
Onboard Your Device
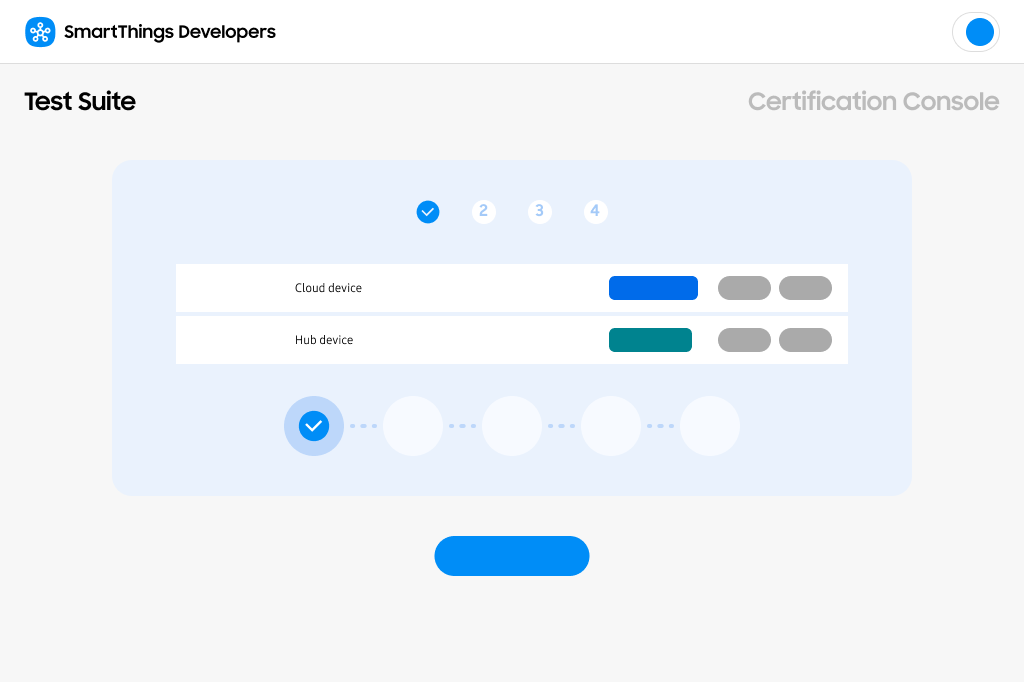
A Full Integration Test starts by onboarding your device to SmartThings. First, select your device connection type. Then follow the steps for that connection type below.
For Cloud Connected (Schema) devices, you onboard the entire Schema integration, not only the device. The integration must be removed from SmartThings before you start the test. The steps for this connection type are described in the Cloud Connected (Schema) Devices tab below.
- Prepare your device.
Make sure that the device is ready to be added to SmartThings. If it is already connected, remove it from SmartThings before you continue. - Onboard the device and select it.
Add the device to SmartThings. The Test Suite detects and lists all newly onboarded devices. Select the device you want to test. - Confirm the onboarding method.
Select the method you used to onboard the device to SmartThings.
- Check your preparation.
Make sure that you have removed the linked service from SmartThings and that you have your screenshot (and video, if applicable) ready. See Before You Begin. - Onboard the device and select it.
Add the device to SmartThings through your Schema integration. The Test Suite detects and lists all devices added by new integrations. Select the device you want to certify.The Test Suite can't detect devices that were already connected through your Schema integration before the test started.
- Confirm the onboarding method and upload your documentation.
Select the method you used to onboard the device. Then upload the screenshot of your authorization page and, if your integration supports App-to-App Account Linking, the video.
- Check your preparation.
Make sure that the device is not connected to SmartThings and that you have the photo of the device's QR code ready. See Before You Begin. - Onboard the device and select it.
Add the device to SmartThings. The Test Suite detects and lists all newly onboarded devices. Select the device you want to test. - Confirm the onboarding method and upload your documentation.
Select the method you used to onboard the device. Then upload the photo of the device's QR code. The photo is required even if you didn't use the QR code to onboard the device.
Onboarding and functional testing in the Test Suite don't replace the Security Review. Submit the WWST Security Request Form with your certification request. See Direct Connected (MQTT) Devices and the Security Review.
Next Step
After onboarding, the Test Suite creates a test plan for your device. Continue with Run and Monitor Your Tests.